
-
-
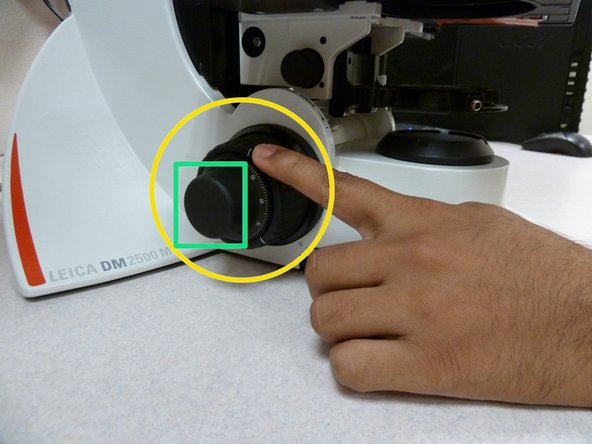
The knob with a bigger diameter is generally referred to as the 'coarse' knob.
-
The coarse knob allows users to quickly adjust to a relatively clear view of the specimen surface
-
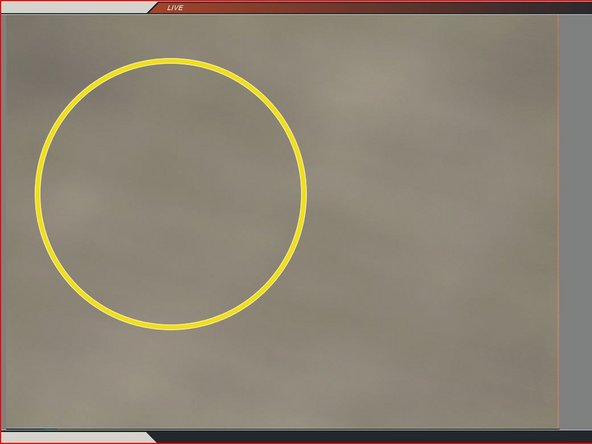
The smaller knob facilitates fine-tuning
-
The smaller knob allows users to fine-tune the specified view to an even clearer image
-


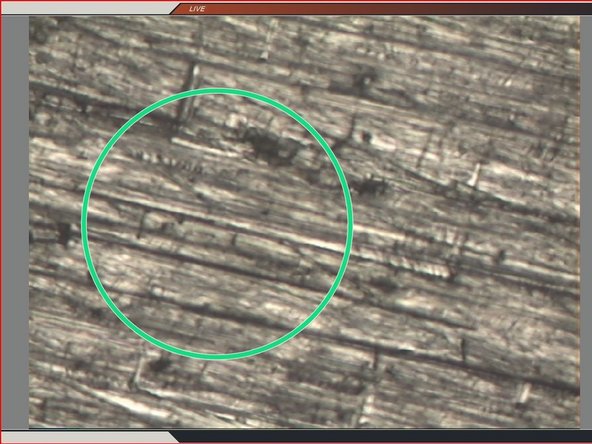


Almost done!
Finish Line