
-
-
Follow steps as per Wear Tester -> Preparation of Specimen -> How to Prepare Specimen
-
Obtain necessary readings before start of experiment such as:
-
1. Weight of ball specimen
-
2. Images of ball specimen, before and after cleaning
-
3. Images of disc specimen after cleaning
-
-
-
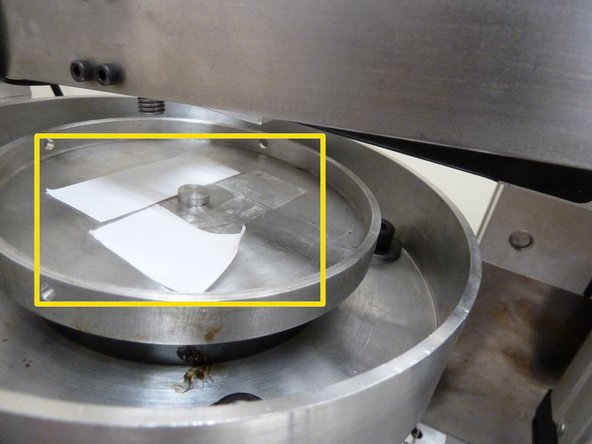
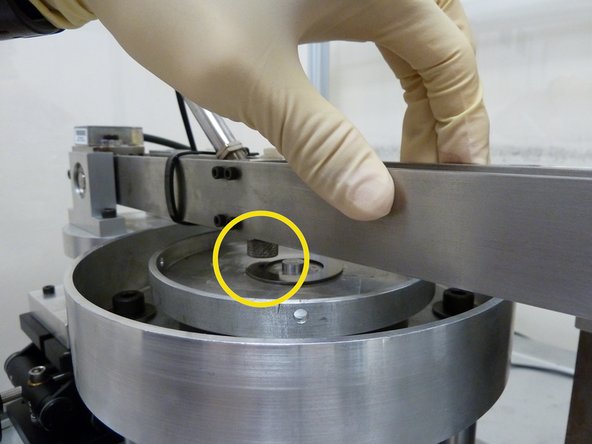
Slowly place ball/pin specimen in contact with disc. Make sure ball specimen is placed right on top of disc
-
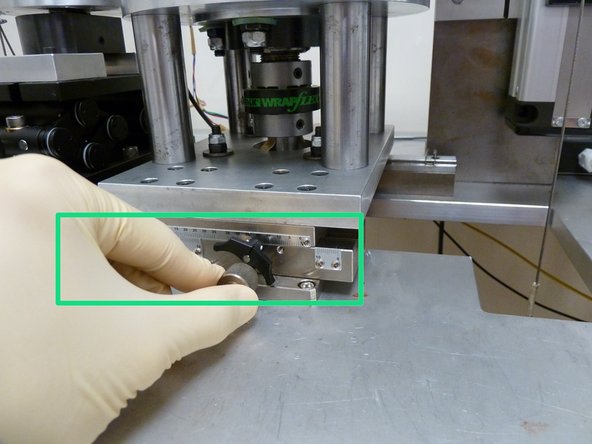
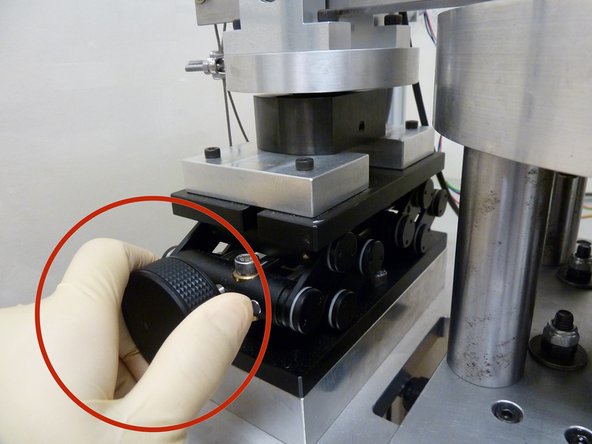
Now, adjust the lab-jack knob, while taking note of the inclinometer reading (in deg) on the 'Production Test' page, to as close to 0 degree as possible
-
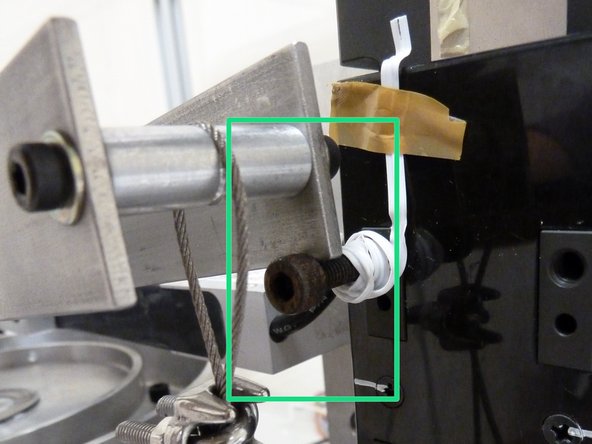
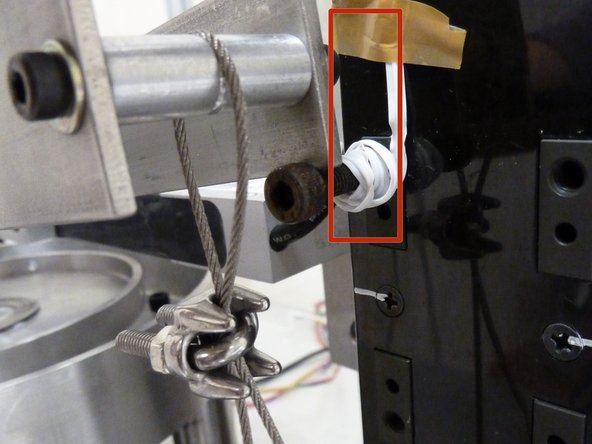
Next, lock the lab-jack and place the cantilever back on the actuator step.
-


Almost done!
Finish Line