
-
-
Select a suitable sample holder.
-
There are 4mm (orange) and 10mm (green) diameter ball sample holders. The easiest way to differentiate the two is through the size of the hole at the bottom of the sample holder.
-
-
-
Place the ball sample into the sample holder and ensure that the surface that is exposed is smooth and has not been worn out before.
-
-
-
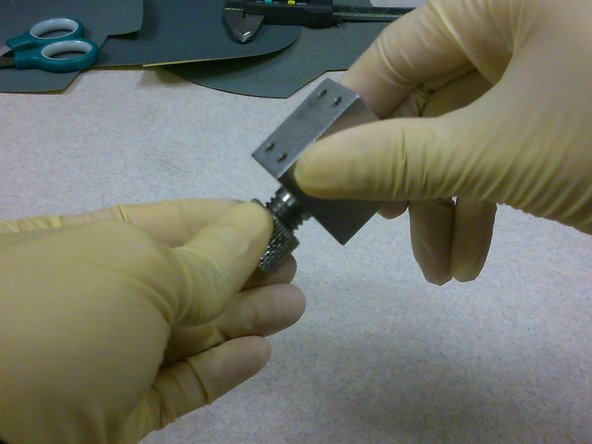
Keeping the smooth surface exposed, carefully screw the sample holder together.
-
Ensure that the sample holder is tightly screwed together lest it becomes loose during wear testing and affect the data collected.
-
-
-
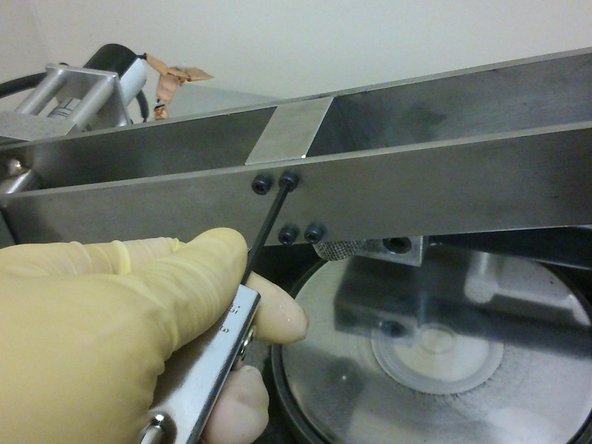
Using an allen key, secure the sample holder onto the cantilever beam using four M3 screws on the side of the cantilever beam facing the user.
-
The ball sample holder is symmetrical and it will not matter which side is to be secured onto the cantilever beam.
-
It is possible to secure another four screws on the side of the cantilever beam facing the load cell but doing so may cause the load cell to give an inaccurate reading (since the force is concentrated on where the screws are). Therefore, the sample holder is only secured to one side of the cantilever beam.
-


Cancel: I did not complete this guide.
One other person completed this guide.